
Building a new inground pool in South Florida is one of the most significant home improvement investments a homeowner makes — and one of the most consequential decisions is choosing the right pool construction company to execute it. The finished pool will be used 12 months a year, exposed to South Florida’s subtropical climate for decades, and embedded in the property’s value in ways that a poor-quality build can undermine for the life of the home. Getting the engineering right, the permitting right, the materials right, and the craftsmanship right from the ground up is not something you want to trust to a team encountering South Florida’s specific soil conditions, water table challenges, and coastal building requirements for the first time.
MBG&A Complete Pool Service and Backyard Remodeling is a South Florida pool construction company specializing in custom pool construction of every type and scale with over 15 years of completed new pool construction and pool installation projects across Palm Beach and Broward Counties. Founded by Mose Johnson and Brooke Marquis and headquartered at 2901 Clint Moore Rd #112, Boca Raton, FL 33496, our team is fully licensed, fully insured, and A+ accredited with the BBB — the highest rating the Better Business Bureau awards. We build every pool we design from the ground up with our own in-house crews — no subcontracted excavation, no subcontracted shell work, no handoffs to whoever is available that week. Call 561-200-4887 today to schedule your free design consultation.
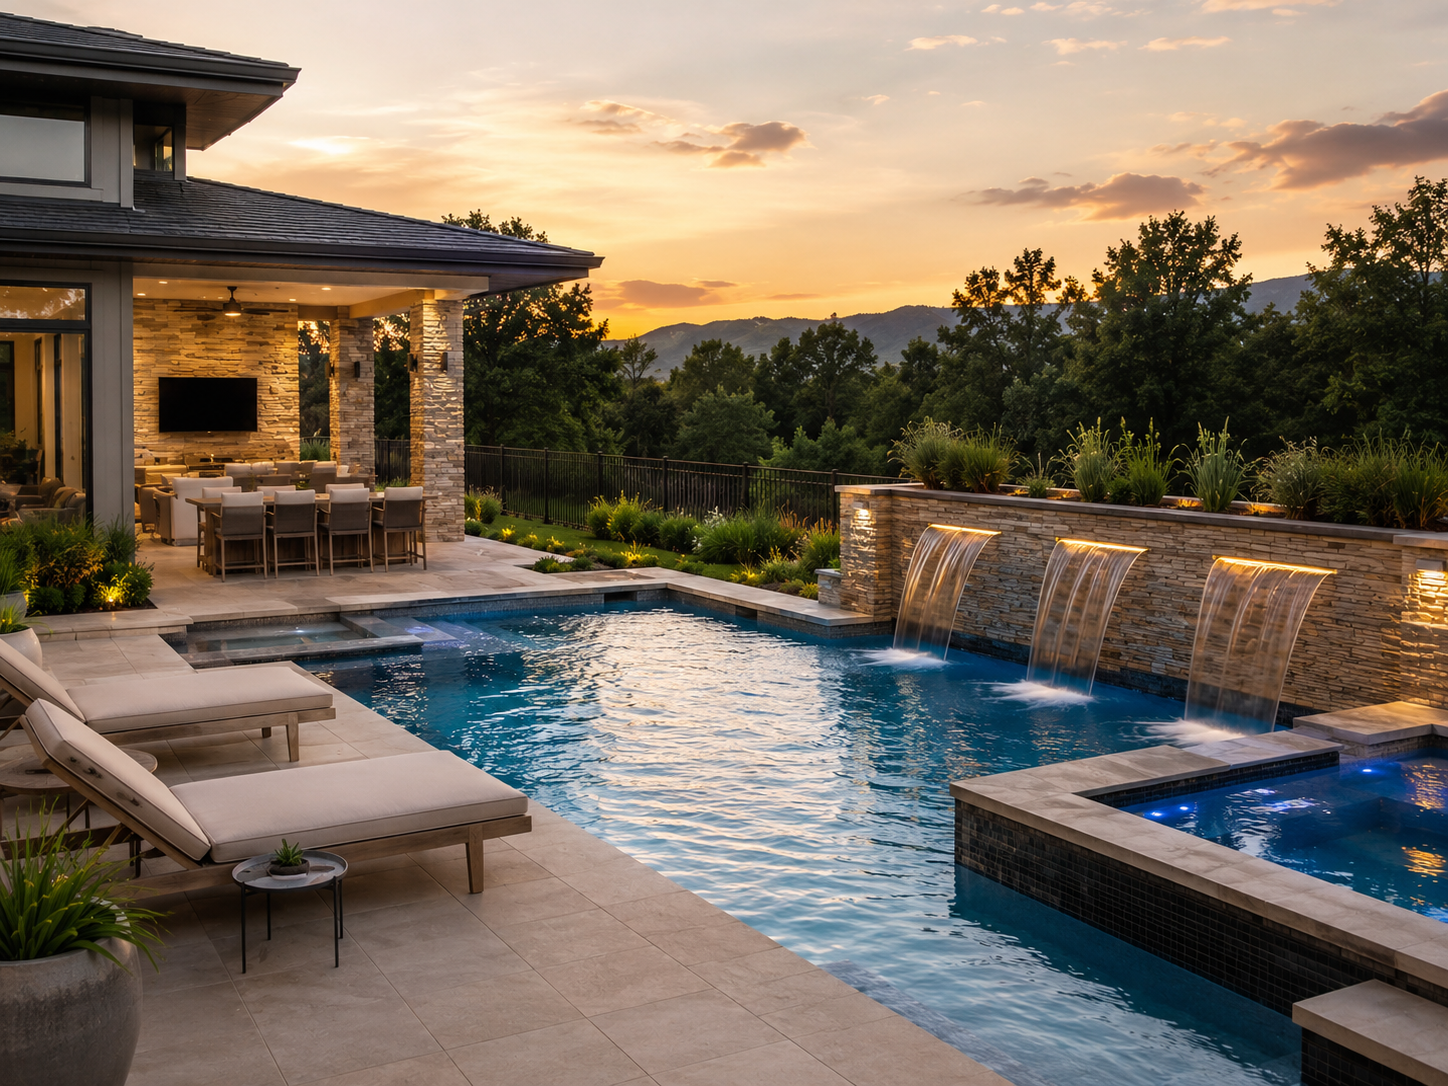
Not all pool construction South Florida contractors bring equal experience to South Florida’s specific demands. Pool construction South Florida projects face a combination of engineering, permitting, and environmental challenges that make local expertise genuinely non-negotiable. After 15 years of inground pool construction projects across Boca Raton, Delray Beach, West Palm Beach, Boynton Beach, Fort Lauderdale, and the surrounding communities, our project managers understand the specific challenges that South Florida’s environment creates at every stage of a new pool build:
This is the single most technically demanding aspect of new pool construction in South Florida that homeowners rarely hear about until a problem occurs. The region’s sandy soil and high water table — particularly in coastal communities and areas near canals — means that excavation must be managed with specific dewatering techniques to prevent the excavation from filling with groundwater before the shell is poured. Additionally, once a pool is built, hydrostatic pressure from the water table must be managed through proper shell engineering and pressure relief valves to prevent shell damage or “pool pop” when the pool is drained for future maintenance. Every MBG&A pool construction project addresses these South Florida-specific engineering requirements as standard practice.
South Florida’s sandy soil composition affects how a pool shell is supported and how excavation walls behave during construction. Proper shell thickness, rebar placement, and gunite application technique in sandy South Florida soil is different from construction in denser clay-based soils found elsewhere in the country. Our project managers have supervised hundreds of South Florida gunite pool shells and apply that experience to every new build.
For properties in Fort Lauderdale, Boca Raton, and other communities near the Atlantic coast or Intracoastal Waterway, pool construction is subject to coastal construction setback regulations that restrict how close to the water a new structure can be built. These regulations vary by municipality and property. Our project managers assess coastal setback requirements during the free site visit and incorporate compliance into the design before permitting begins — avoiding the costly redesigns that contractors who miss this step face mid-project.
The majority of Palm Beach and Broward County residential communities are HOA-governed. New inground pool construction projects require HOA design approval — including pool shape, size, deck material, and fence/barrier specifications — before permits can be issued. Our project managers have navigated HOA design submissions across dozens of South Florida communities and prepare complete, compliant design packages that avoid the rejection cycles that delay many new pool projects by months.
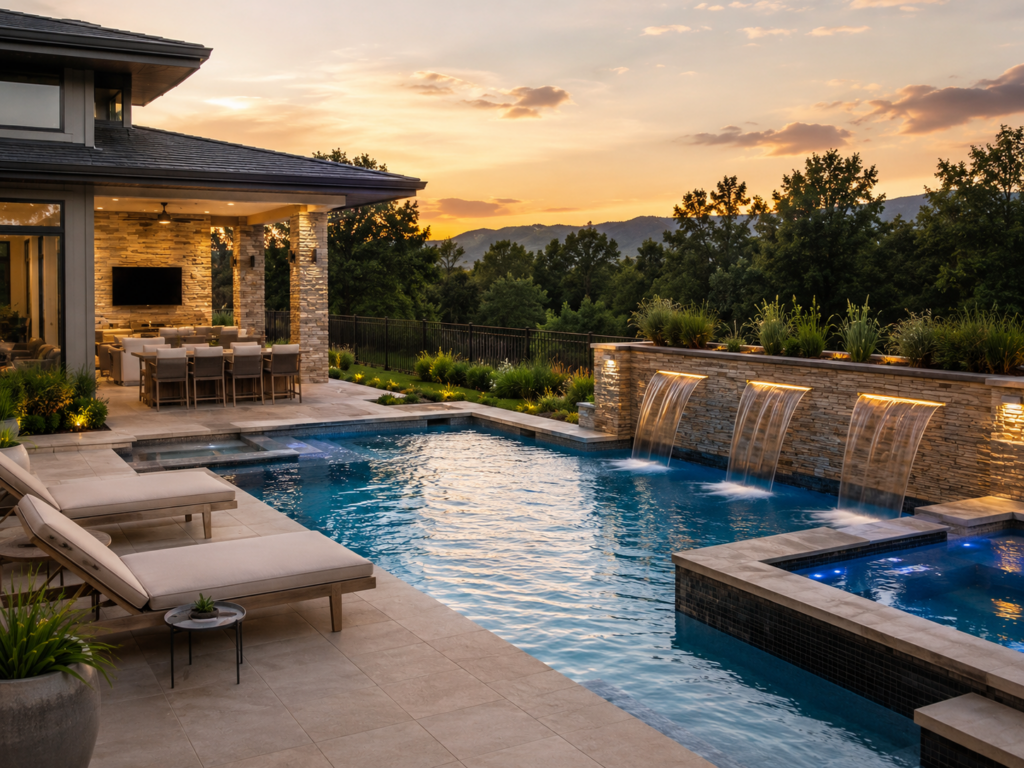
As a full-service pool construction company delivering custom pool construction across South Florida, MBG&A builds every style of inground pool South Florida homeowners want — each project is a fully custom pool construction engagement, not a package template:
Organic, curved shapes inspired by natural lagoons and tropical water features. The most popular pool shape in South Florida’s resort-style backyard market. Freeform designs work well on irregularly shaped lots and create a natural visual flow from the pool to the surrounding landscaping.
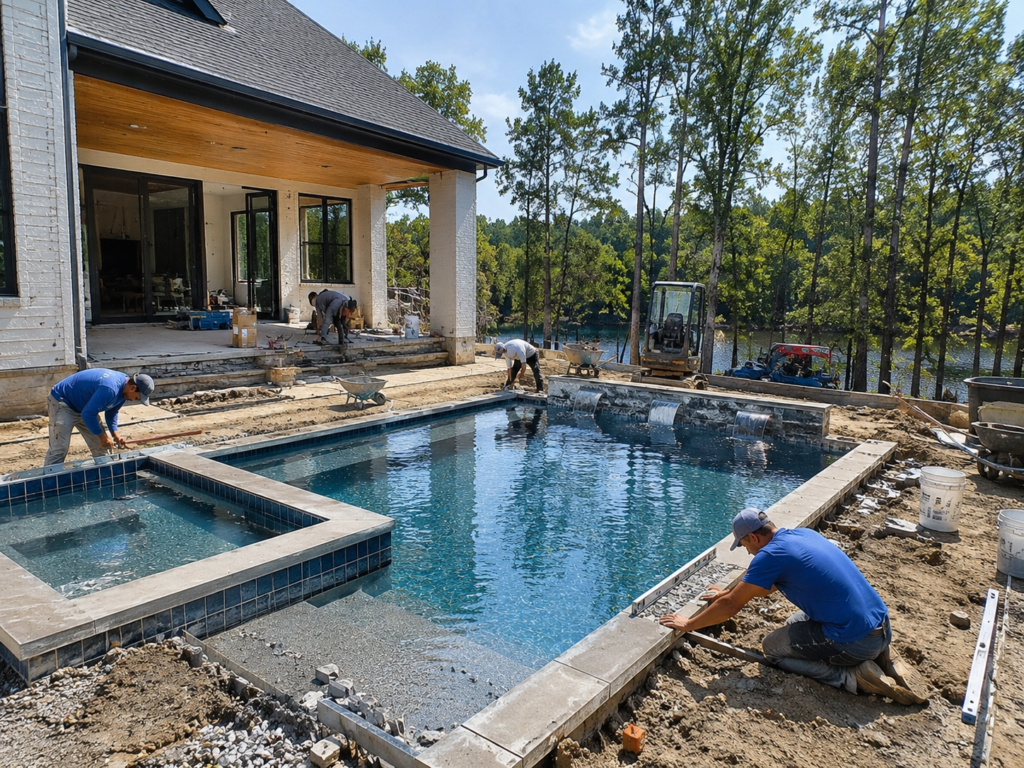
Every new pool installation South Florida project — from a compact plunge pool to a full estate build — follows the same rigorous process. This is the new pool installation South Florida workflow MBG&A has refined over 15 years and hundreds of completed builds — refined over 15 years and hundreds of completed builds:
Total timeline: 10–16 weeks from permit approval through final inspection for a standard inground build. Luxury and estate builds with complex features may run 16–24 weeks.
| Pool Type / Scope | Average Cost Range (South Florida) |
|---|---|
| Standard Rectangular Inground Pool | $55,000 – $80,000 |
| Freeform Inground Pool | $60,000 – $90,000 |
| Plunge Pool (compact, small footprint) | $35,000 – $60,000 |
| Freeform with Tanning Ledge | $65,000 – $95,000 |
| Infinity Edge Pool | $90,000 – $150,000+ |
| Custom Estate Pool (fire/water features, premium finish) | $120,000 – $350,000+ |
| Add-On | Average Cost |
|---|---|
| Pebble Finish Upgrade (over marcite base) | + $3,500 – $7,000 |
| Travertine Paver Deck (included vs. basic concrete) | + $8,000 – $20,000 |
| LED Color Lighting System | + $2,500 – $6,000 |
| Pool Automation System | + $2,000 – $5,000 |
| Tanning Ledge (if not in base design) | + $3,000 – $7,000 |
| Outdoor Kitchen Addition | + $12,000 – $75,000 |
| Pergola / Shade Structure | + $8,000 – $25,000 |
These are general market averages for South Florida, not a formal quote. Final cost depends on pool size, design complexity, finish selections, and site conditions. We provide a written, itemized estimate after the free design consultation.
Choosing a pool construction company for a new build is a more consequential decision than choosing a contractor for a renovation — because you are not correcting an existing problem, you are creating a new permanent structure that will live with your home for decades. Here is what to look for — and what questions to ask:
Ask to see completed projects in your specific community or neighborhood. A contractor with hundreds of completed South Florida builds has encountered your soil type, your water table, your municipal permitting process, and your HOA’s design requirements before. One who hasn’t will be learning on your project.
MBG&A Complete Pool Service and Backyard Remodeling completes new pool construction, pool installation, and pool construction South Florida projects of every type throughout South Florida, including:
Palm Beach County: Boca Raton · Delray Beach · West Palm Beach · Boynton Beach · Lake Worth · Wellington · Palm Beach Gardens · Jupiter · Royal Palm Beach
Broward County: Fort Lauderdale · Pompano Beach · Deerfield Beach · Hollywood · Hallandale Beach · Wilton Manors · Lauderdale-by-the-Sea
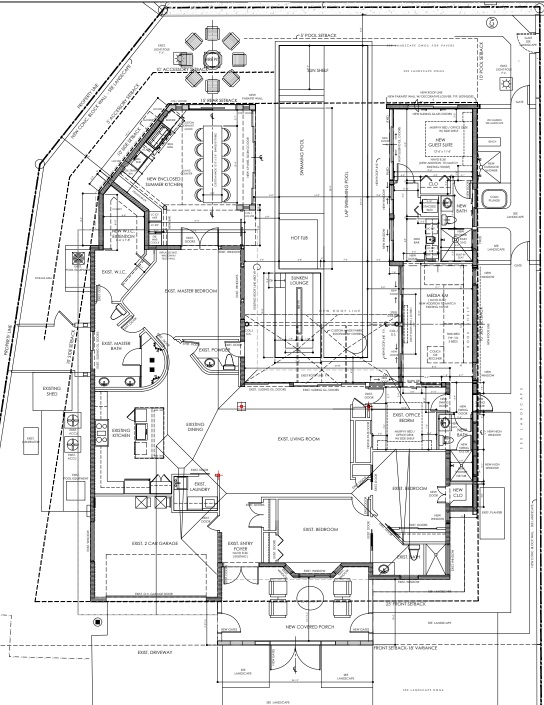
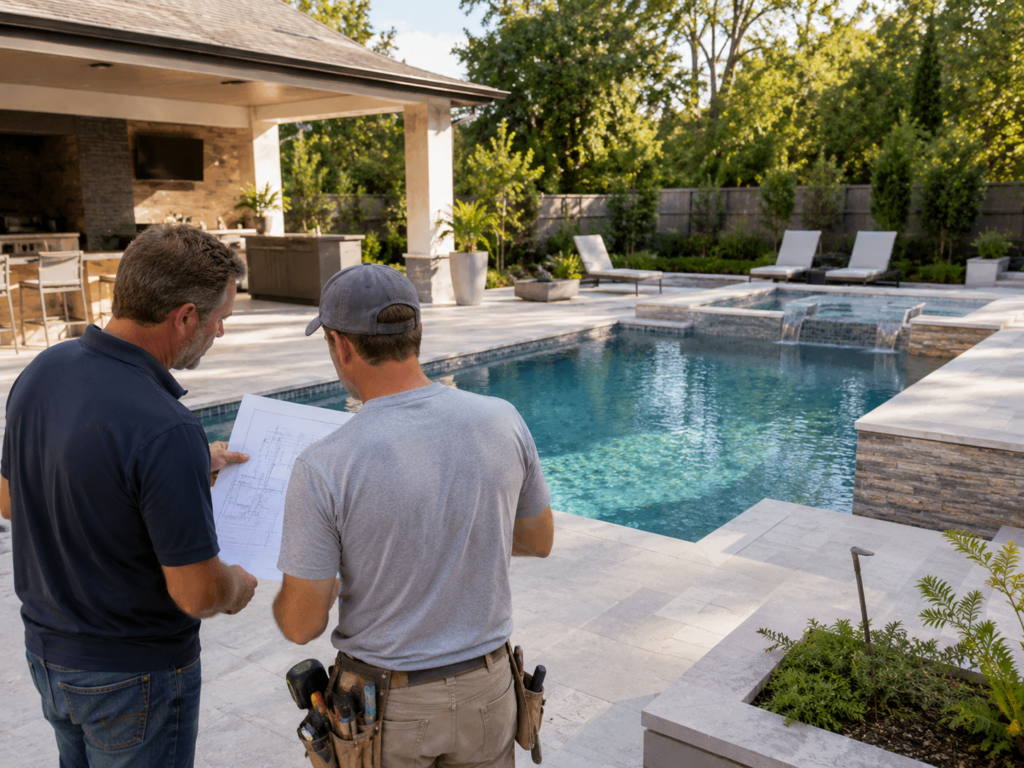
The design process is the backbone of any project that we do. When our project manager meets with you it is our duty to understand your objective and your design.
No detail is too small consider every area of the design element for your space, from the outdoor living space, deck, and pavers, to landscaping and landscape lighting.
The objective is to integrate a unique design element, elevate your experience and maximize the use of your space while adding features where applicable. Once the brainstorming period is completed, a design layout is created for your approval. Our goal is to deliver your vision through the space we create.
Call MBG&A Complete Pool Service and Backyard Remodeling at 561-200-4887, visit us at 2901 Clint Moore Rd #112, Boca Raton, FL 33496, or request a consultation online. As a licensed, insured, and A+ accredited with the BBB pool construction company with 15+ years of South Florida new pool construction experience — including the engineering knowledge, permitting expertise, and in-house construction capability to deliver every project to the standard South Florida’s climate and property market demands — we are ready to deliver — as a licensed, insured, and A+ accredited with the BBB pool construction company — the new pool installation South Florida homeowners in this market deserve — built to last in South Florida’s climate, permitted correctly, and executed by the same team that makes the promises.
New pool construction in South Florida costs $55,000–$80,000 for a standard rectangular inground pool, $60,000–$90,000 for a freeform design, and $90,000–$150,000+ for an infinity edge pool. Custom estate builds with premium features range from $120,000–$350,000+. MBG&A Complete Pool Service and Backyard Remodeling provides free, written, itemized quotes after a site assessment. Call 561-200-4887.
New pool construction in South Florida typically takes 10–16 weeks from permit approval through final inspection for a standard inground build. Luxury and estate builds with complex features may take 16–24 weeks. Permitting and HOA approval timelines vary by municipality and community. MBG&A manages all permit applications and HOA submissions in-house.
MBG&A Complete Pool Service and Backyard Remodeling builds freeform pools, geometric pools, lap pools, plunge pools, infinity edge pools, freeform pools with tanning ledges, and custom estate pools throughout South Florida. Every new pool construction project begins with a custom 3D design rendering before construction is approved.
Yes. New inground pool construction in South Florida requires building permits, structural engineering approval, electrical permits, and a final inspection by the relevant city or county building department. Florida law also requires pool barrier compliance before the pool can be used. MBG&A manages all permits and inspections in-house.
South Florida’s high water table requires specific dewatering techniques during excavation and hydrostatic pressure relief engineering in the pool shell. Without these measures, excavations can flood during construction and empty pool shells can be lifted by groundwater pressure during future draining. MBG&A addresses both risks as standard practice on every South Florida pool construction project.
Yes. MBG&A Complete Pool Service and Backyard Remodeling uses its own permanent, trained in-house crews for all phases of new pool construction — excavation, shell construction, plumbing, surface application, and deck installation. No subcontractors. This ensures consistent quality control and direct accountability throughout the full construction process.
New pool construction through MBG&A includes a choice of three interior finish options: marcite (white plaster) at $4,500–$9,500, quartz aggregate at $7,000–$13,500, and pebble finish at $8,000–$16,000. Pebble is the recommended long-term choice for South Florida’s climate, lasting 15–25 years. Quartz is the best mid-range option. All finishes are available in a wide range of colors.
Yes. MBG&A Complete Pool Service and Backyard Remodeling designs and builds infinity edge and negative edge pools throughout South Florida. Infinity edge pool construction typically costs $90,000–$150,000+ and requires precise engineering of the catch basin, return plumbing, and deck structure. Every infinity edge build includes a custom 3D design rendering before construction begins.
Yes. MBG&A prepares and submits full HOA design approval packages for new pool construction in Palm Beach and Broward County HOA-governed communities, including pool shape, deck material, barrier specifications, and site plan documentation. The company manages resubmissions if designs require modification and coordinates the HOA approval timeline with the municipal permit process.
MBG&A’s free pool construction consultation includes an on-site property assessment covering soil conditions, drainage, utility locations, HOA and coastal setback requirements, and existing site features. The project manager discusses design options, realistic budget ranges, and timeline expectations. A written, itemized quote is provided at no cost or obligation.
Yes. MBG&A Complete Pool Service and Backyard Remodeling holds an A+ rating with the Better Business Bureau — the highest BBB accreditation — for pool construction and related services in South Florida. Founded by Mose Johnson and Brooke Marquis, the company has operated continuously for 15+ years and backs all construction work with a written workmanship guarantee.
A tanning ledge (also called a Baja shelf or sun shelf) is a wide, shallow raised platform — typically 6–12 inches deep — built into the pool where homeowners can sit in the water in full sun. It is one of the most popular features in South Florida new pool construction. MBG&A incorporates tanning ledges into new pool builds at an average add-on cost of $3,000–$7,000.
Yes. MBG&A Complete Pool Service and Backyard Remodeling offers flexible financing options for South Florida homeowners, allowing new pool construction costs to be financed over time. Financing covers the full construction scope and is discussed during your free consultation. Call 561-200-4887 or visit the Finance page on the website for current options.
Call MBG&A Complete Pool Service and Backyard Remodeling at 561-200-4887, visit the headquarters at 2901 Clint Moore Rd #112, Boca Raton, FL 33496, or submit a consultation request at mbgpoolsandspa.com. A licensed project manager will schedule a free on-site assessment at your South Florida property and provide a written, itemized pool construction estimate at no cost.
Trustindex verifies that the original source of the review is Google. Where do I start? This company is the best. The price is very reasonable. And the quality of their job is unbelievable, I would recommend them to anyone who is looking for Quality work, within 24 hours of me calling the job was done and I love love the result.Trustindex verifies that the original source of the review is Google. My filter motor siezed and they were Johnny on the spot replacing it the same day I called. The didn't try and sell me parts I didn't need and gave a fair priceTrustindex verifies that the original source of the review is Google. Moe is very experienced and installed a new pool pump and seal. Perfect job. It was a pleasure to meet him. a Man of many talents!Trustindex verifies that the original source of the review is Google. There is no one better than Moe. He is honest and trustworthy plus he does great work. I initially had him design and remodel my pool. I was so satisfied with his service and work. If anyone owns a vacation or rental home, Moe is the man to help manage as well. Any issues, any repairs needed, he will take care of it and u can be reassured you are taken care of and treated fairly.Trustindex verifies that the original source of the review is Google. I have used MBG & A for years. They have met all my pool needs including Maintenance, repairs, replacement of heater and pump etc. Mois is professional and thorough and has always been available to answer any questions. I recommend them highly.Trustindex verifies that the original source of the review is Google. Always does a great job Will recommendTrustindex verifies that the original source of the review is Google. They redid our pool deck and resurfaced our pool adding a sun deck. Everything turned out how we wanted! Great work and very reliable. They ended up helping out with the front driveway too. Highly recommendTrustindex verifies that the original source of the review is Google. Great service at great prices! We are always very well taken care of with our pool needs thanks to Mose!Trustindex verifies that the original source of the review is Google. Mose is the absolute best! Highly recommended!